10 Tips I’ve Learned For Better Travel Photos
I’m not a photographer but I love taking a lot of pictures when I’m traveling, to the point where it becomes annoying for the people I’m with. Ever since I was little and we had a 35mm film camera, my parents had to tell me to stop photographing landscapes and focus on pictures of us. But it was only about a year ago that I started reading and learning about all those settings that seem overwhelming in the beginning. And of course, by the time that I got my first DSLR in spring I had forgotten almost everything, since my old camera wasn’t allowing me to do much.
A lot of things I’ve read became obvious once I started putting them into practice and some I’ve picked up on after a few (hundred) shots. So I’d like to tell you 10 tips for beginners looking to improve their travel photos.
Before I start, I’d like to say that I assume you know the basic concepts of photography, such as aperture, shutter speed and ISO. If you don’t, then I encourage you to read the excellent tutorials for begginers from Photography Life.
1. For the love of God, don’t forget to change the ISO
ISO, the camera’s sensibility to light, is a very useful thing. In brief, the higher the ISO number, the more sensitive your camera will be to light. Basically, you’ll want to use a higher ISO in a place with low light when flash or long exposure isn’t possible (such as a cathedral) and a lower ISO when there’s a lot of light. Be careful though: With great ISO, comes great noise! You see how it’s important to change the settings according to the conditions.
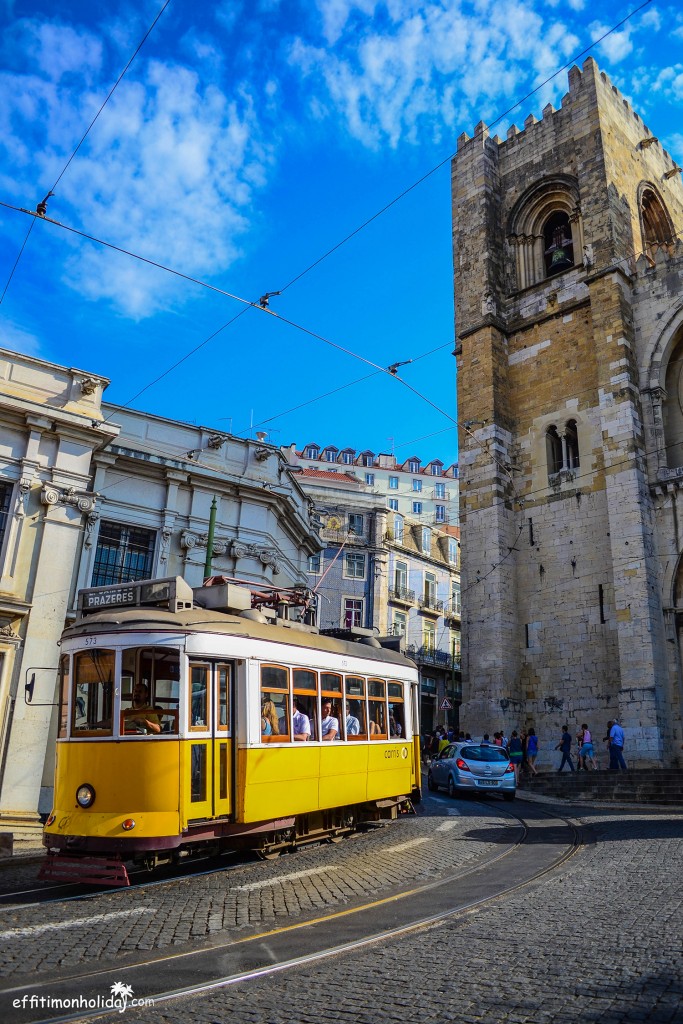
I can’t tell you how many times I’ve walked out of a cathedral, set the shutter speed and aperture for an outside shot and realized the picture was overexposed because I still had a higher ISO set. And it’s especially frustrating if your subject is moving. In Lisbon, after I visited the Se cathedral, I wanted to take a picture of it and a yellow tram passing by. Yeah…. that didn’t go too well, so I had to wait for another tram. And when I finally got it right, a car had to ruin the shot.

2. Composition is key
One thing I’ve realized during my last trip is that you can set up the perfect settings on your camera, but it will all look rather dull if you don’t compose your shot carefully. I usually look for interesting angles, something to make the picture stand out. But I’ll be the first one to admit, I still have a lot to improve in this area. While you can learn the correct exposure settings, I feel like composing your pictures in your own personal way takes a lot of practice and patience.
3. Check the picture after you’ve taken it
While I’ve heard people advising against it, I find it incredibly useful, especially for beginners. For one thing, you can see if the picture turned blurry or shaky. Exposure can be easily corrected afterwards, but if a picture is blurry, there isn’t much you can do about it. Of course, I’m assuming here you don’t aim to put it in a frame and call it “modern art” ;). You may say: “But I’m 101% certain the picture isn’t blurry, why do I need to look at it after I pressed the shutter button?”. Looking at the image helps me to see how to improve and compose the shot differently. That is, if someone isn’t threatening me for spending way too much time taking photos of a tree.

4. One step forward, two steps back
Related to #3, one thing I’m guilty of is taking a picture in one place, check it on the screen of camera, see it turned out okay and leave. It is when I get home and look at it on the laptop and think “man, I wish I got closer to the subject” or “you are too close, dumbass!”. Don’t be that guy (aka me).
5. Research the place before going
I’ve always researched the place I’m traveling to before I got there. What to see, where to eat, where is the best viewpoint of the city, what’s the UFO situation down there (kidding, I don’t check this one, although come to think of it, maybe I should…). Lately, I’ve also looked for pictures other travelers took of the sights I’m interested in and thought how I can do things differently. Flickr, Google Images and Google Maps are my go-to resources. It’s useful especially if you spend a short time in a city and want to make the most of it.
6. Play with the settings
Like I said, theory is one thing, practice is a completely different world. Don’t be afraid to change the settings of the camera. Go for a larger aperture, see what happens. You can either get a beautiful unique shot, or something as smelly as a politician trying to get your vote. But you never know until you try. Have you got a great picture while testing different settings? I’d love to see the result. 🙂
7. Changing lenses awareness
If you have a DSLR, you need to be super-extra-mega-ultra careful when you change your lens. Don’t do it on a beach, don’t do it if it’s windy, basically don’t do it if there are chances of dust getting inside your camera. I learned this the hard way when I spent 20 minutes on top of the Arc de Triomphe in Paris to clean the camera. Which reminds me: do buy a good cleaning set, it’s important that you can actually clean your camera with it, not cause more trouble (like the one I have did….)
8. Flash can be useful
I used to hate the flash and never used it. Ever! It was the Voldemort of my camera, He-Who-Must-Not-Be-Activated. In Portugal, as I traveled from one place to another, I couldn’t afford to wait for the perfect time to take a picture. At noon, the sun casts a lot of shadows and the colors get washed out, but I learned the flash can really bring out the colors and create a beautiful contrast.
9. There’s a reason people are talking about the golden hour
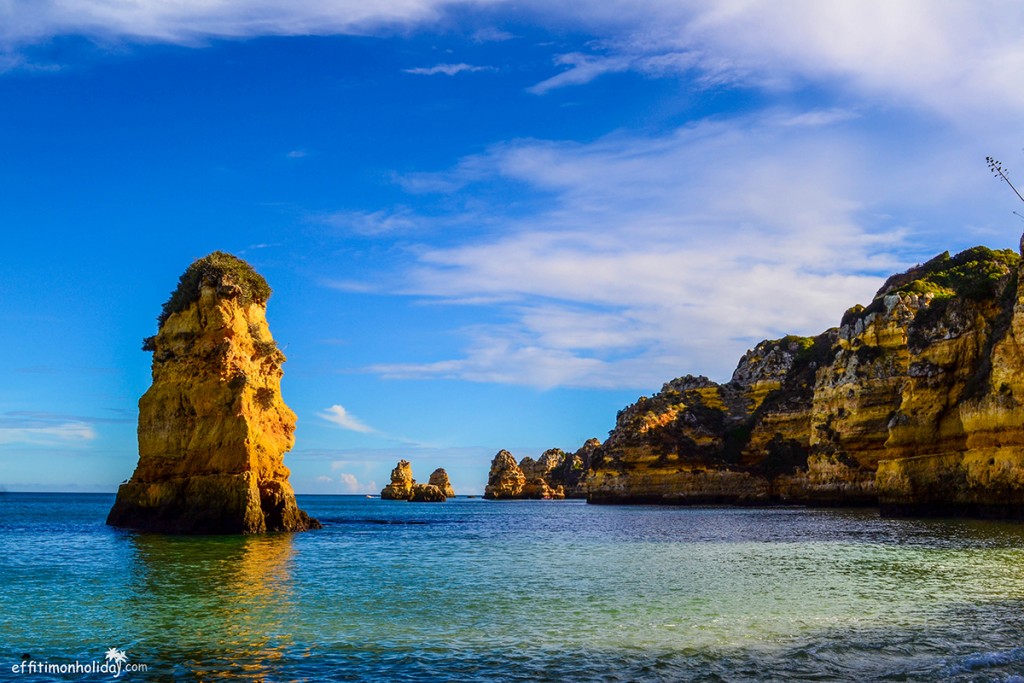
If you can shoot during the golden hour (after sunrise and before sunset), make sure you use it to your advantage. You’ll get to photograph scenery with beautiful colors and little to none post-processing will be needed. You’ll need to be fast though, the term “hour” is used loosely and it doesn’t actually last an hour. But the “golden twenty minutes” just didn’t have the same ring to it, did it?

10. Have fun!
Lastly, have fun with your camera! No, not that kind of fun, who even thinks of these things, God! Photography isn’t a Math exam where only one solution is the correct one and you’ll fail if you don’t get it right. Don’t be afraid to experiment with different angles and exposures, until you find your own style that you are happy with. If all else fails, there’s always chocolate. Then you can get up and try again. 😉
What other photography tips have you learned or picked up on that may be useful for a beginner? I’d love to hear your ideas in the comments below.
