10 Tips I’ve Learned For Better Travel Photos (Part 2)
A year ago I’ve shared with you a few tips I’ve learned for better travel photos. As it was one of my new years resolutions to take better photos, I constantly practiced, read articles, found what I like and what I don’t. Suffice to say that I learned a few things this year so I’d like to share them with you in the hope that they will help you improve your travel photos. I’m no expert however, so I got to the following conclusions after a process of trial and error. Feel free to correct me if I’m wrong or tell me what other tips you know. After all, there will be a part 3 in the future. 😉
1. More equipment doesn’t equal to better travel photos
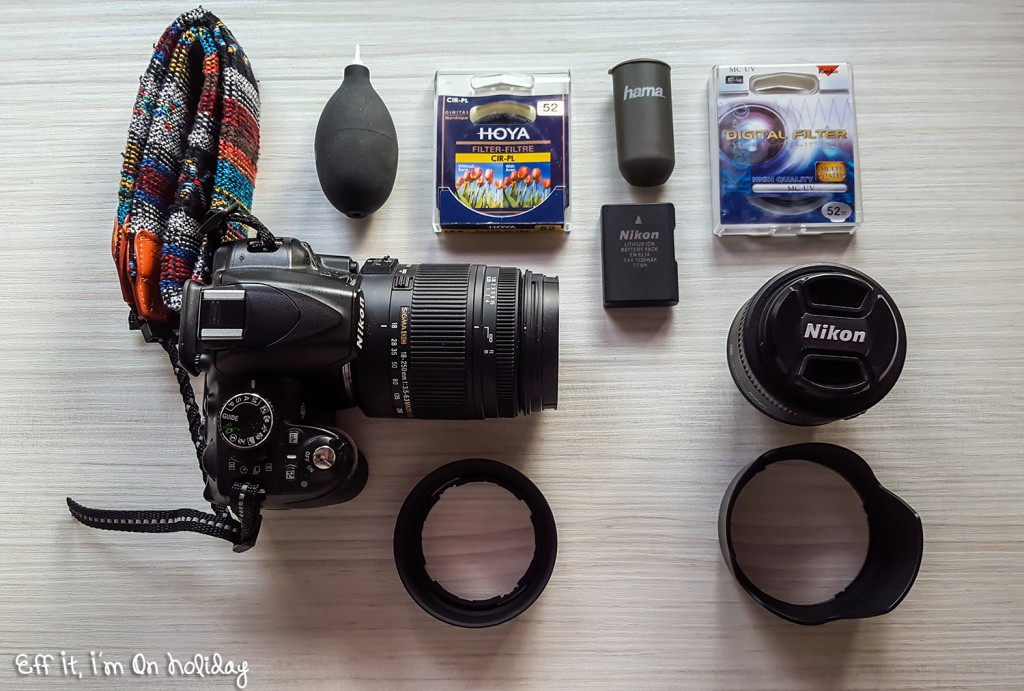
I’ll be the first to admit that I’m a lazy af photographer. I find it incredibly inconvenient to change lenses, let alone carry a million of them with me. So looking to lighten my backpack, I settled on only two lenses to always have with me. A Sigma 18-250mm that’s great for everyday shots and a Nikon 35mm for portraits and indoors (especially food shots!). These two are the only lenses I used on my trip to Northern Europe from earlier this year and I’m quite happy with the result. Before these I had the kit 18-55mm lens and a Sigma 70-300, but changing them was a tedious process so after reading a lot of reviews, I decided to replace them with the all-around Sigma one. After all, a good lens will only get you so far, but it’s how you use it that will determine whether your travel photos end up awesome or not. It doesn’t matter if you carry a backpack filled with high-end lenses if all they do is weigh you down. So what I’m trying to say is: travel light and learn to take the best photos with the gear you have.
Speaking of lightening the gear, has anyone ever used a mirrorless camera? I’ve been reading a lot about them lately, but I’ve yet to try one, although I’m curious.
2. White balance can make or break your travel photos

White balance is something I’ve only recently come to take into consideration when editing my photos. For those of you who don’t know white balance is “the global adjustment of the intensities of the colors”, or in other words, it’s used to render the colors in the photo as accurate as possible. The cameras have predefined profiles for different light settings (this is why sometimes indoor shots turn out too yellow), but I like to shoot in auto and edit it according to my needs later. The first time I noticed how useful it can be when I went to the Infinitea tea house one morning and was disappointed to see that the photos didn’t do the place justice. Adjusting the “temperature” slider I was able to create a much more atmospheric feel to them.
3. Less is more when it comes to editing
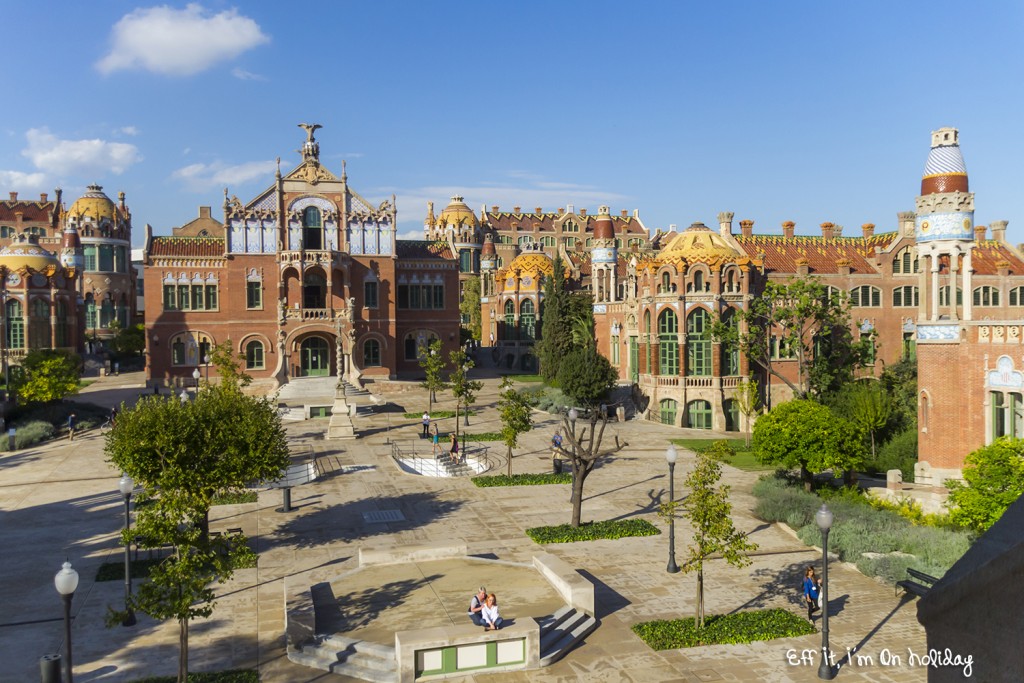
Nowadays I mostly spend a few minutes for editing each photo, because I only make small adjustments (shadows, highlights, contrast and sometimes colors), to make the photo look as close to the scene I remember. I cringe when I see photos that look nothing like the real world (including some of my old ones). If you want to see some some of the photographers that inspire me, check out On The Luce and Travel Notes And Beyond.
4. Always shoot in raw
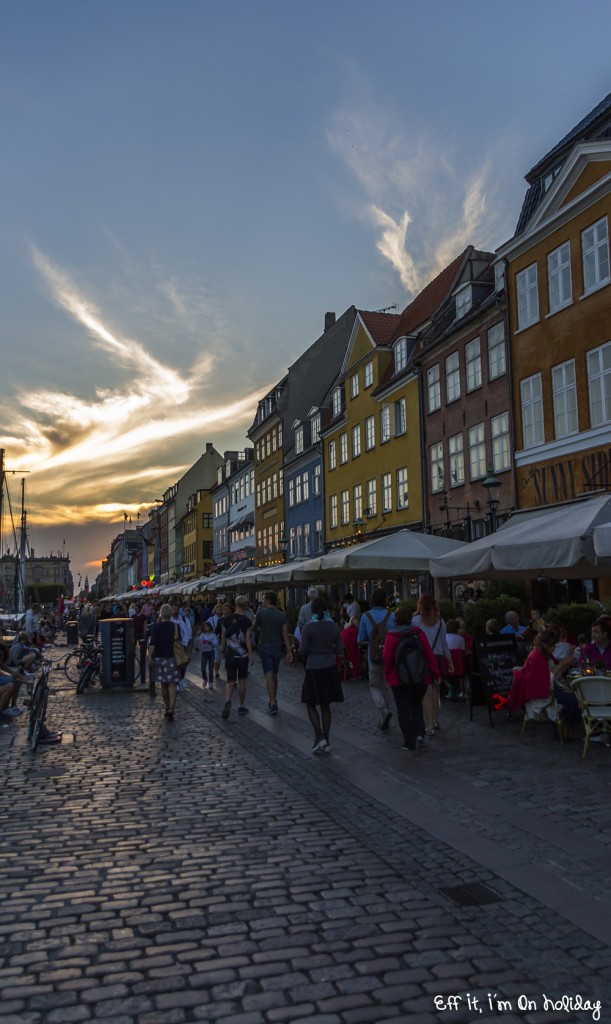
Speaking of editing, I’ve learned that shooting in raw makes it 1000 times easier to edit your photos. I admit, at first I was like “why would I need to fill up my hard drive, I can edit a jpeg just fine”. It’s so much more convenient to edit a raw file, you can effortlessly correct an overexposed or underexposed travel photo. And you can always delete them after you’re done (which is something that I’ve yet to do…).
5. Is carrying a tripod worth it?
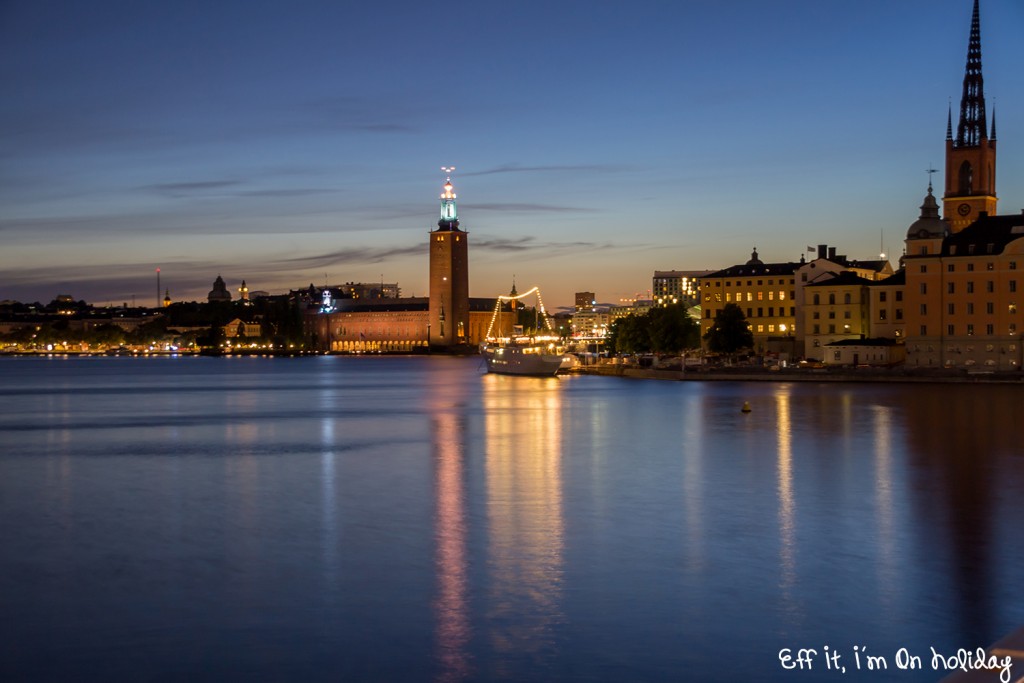
While I’m all for having a light equipment backpack, there’s one thing that always weighs me down: my heavy tripod. I’ve pondered whether it is worth carrying it with me on all my trips, but the answer was yes, considering that I can take much more beautiful travel photos at night than I would if I just held the camera. However, I found ways to not make it be such an inconvenience: I don’t carry it with me during the day and when I take it, I have a fairly good idea on what I want to shoot. (and sometimes I outsource the carrying on someone else 😳 )
6. Learn how to create panoramas
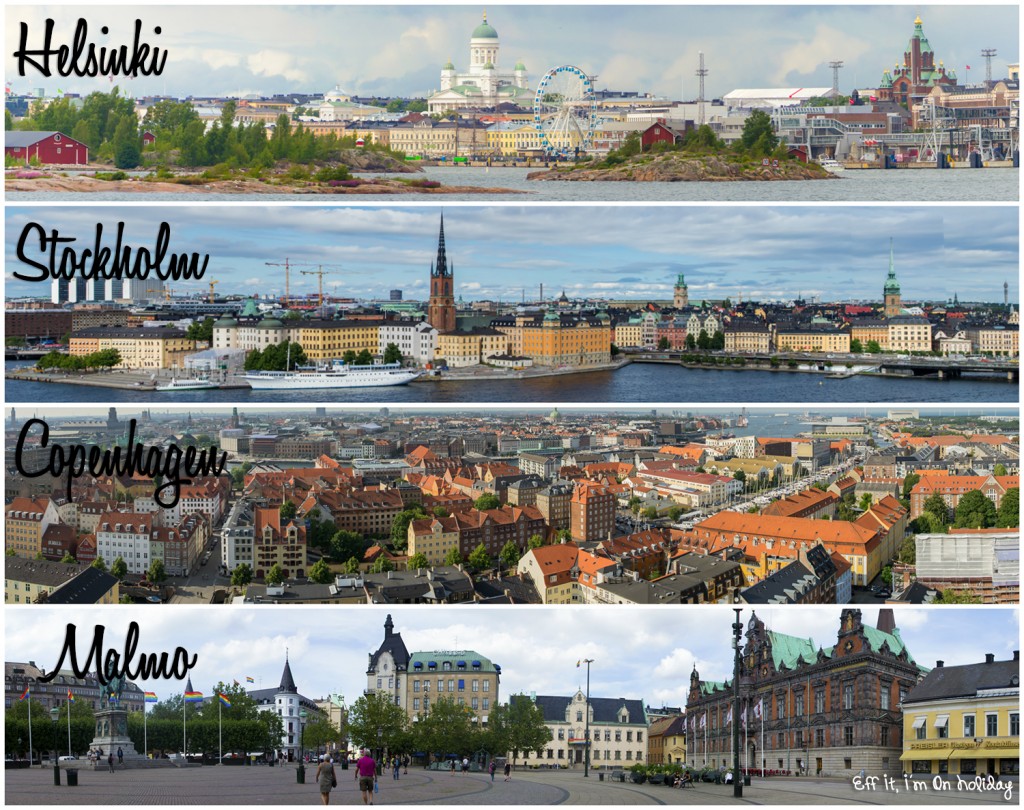
If there’s one thing I’m happy I learned this year it would be this one. Panoramas are a great way to capture more from the scene in one photo and they can make excellent wallpapers as well. Some cameras come with a built in panorama function but if yours doesn’t have it (like mine), you can do it the fun way, by taking more photos and stitching them together in a software like Photoshop. What you should consider is that each photo should contain half of the scene in the previous photo and that you should take them vertically, so that the height of the panorama won’t be too small. Plus, you can end up with a few good images for Pinterest as well 😉
7. Focus on details
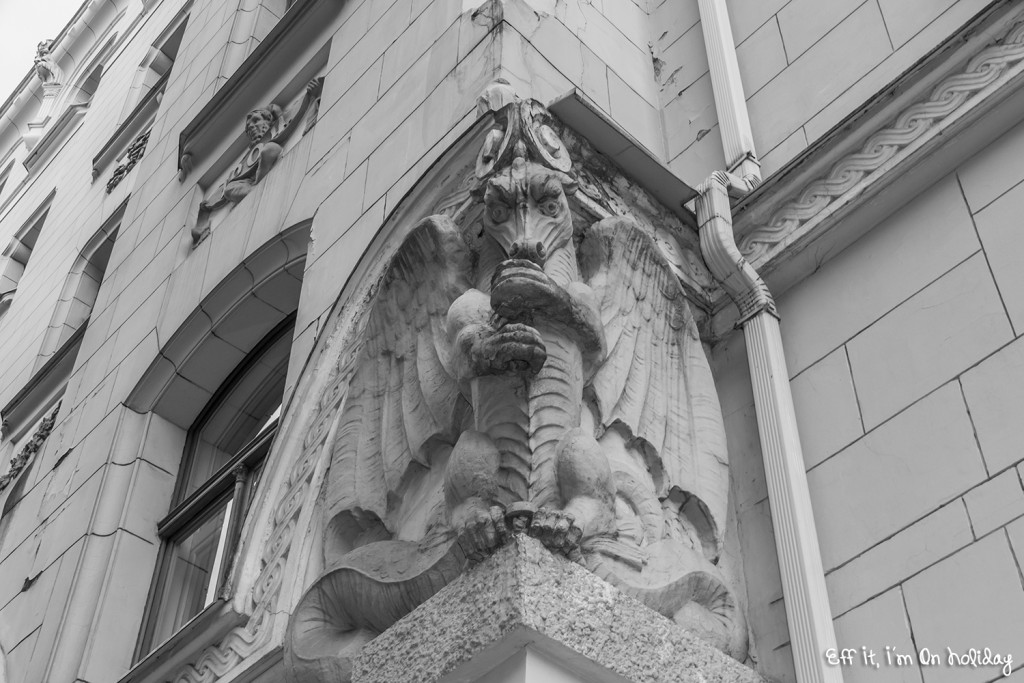
Everyone wants that shot of the Eiffel Tower in Paris, but I’ve learned that focusing on details can create much more interesting photos. An cool street lamp, a colorful door, a balcony with flowers, they all can add a new perspective to travel photos from places that are well known. To see what I mean, check out the photos from one of my favorite Instagramers, Will Taylor (aka Bright Bazaar).
8. Lots of people around? No problem!
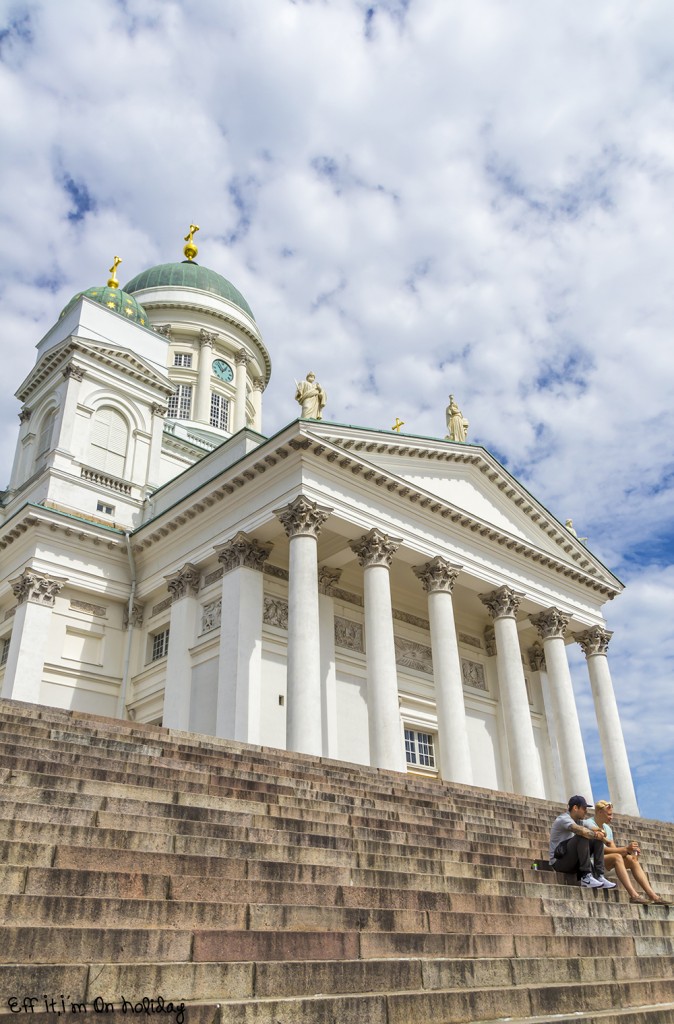
I generally don’t like crowds and if I can wait until everyone leaves, I do. But sometimes you can’t wait and there will be people in the photo. Sure, there are ways of removing them in post processing, like taking a lot of photos in the same scene and then using a tool in Photoshop, or Adobe’s future Monument Mode to remove people on the spot, but I found that people in a photograph can make it more interesting and add a sense of dimension, like in the photo above.
9. Animals make interesting subjects
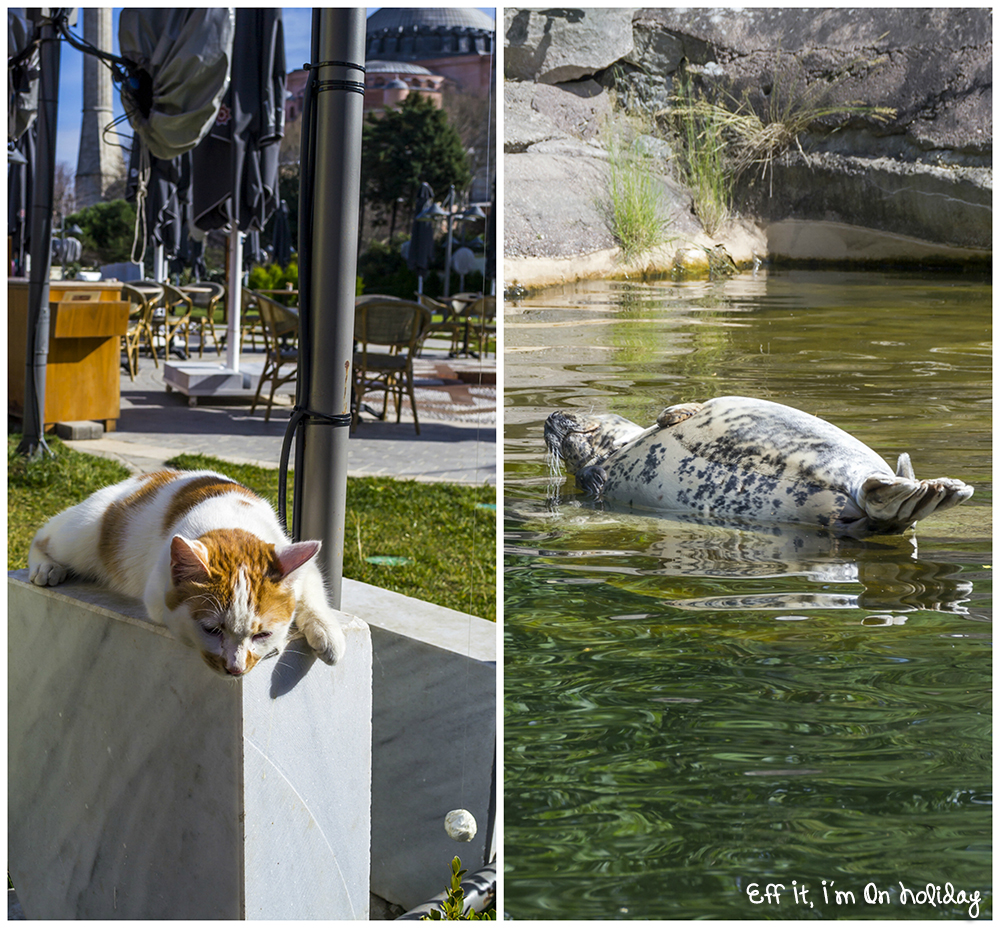
I love photographing animals, you can end up with such cute and fun shots, although it’s often a frustrating process, because they never sit still (unless it’s a ridiculously lazy seal in Stockholm – the one above). From cats in Istanbul to wolves in Stockholm, I definitely spent a lot of time taking pictures of animals this year.
10. Just take the photo
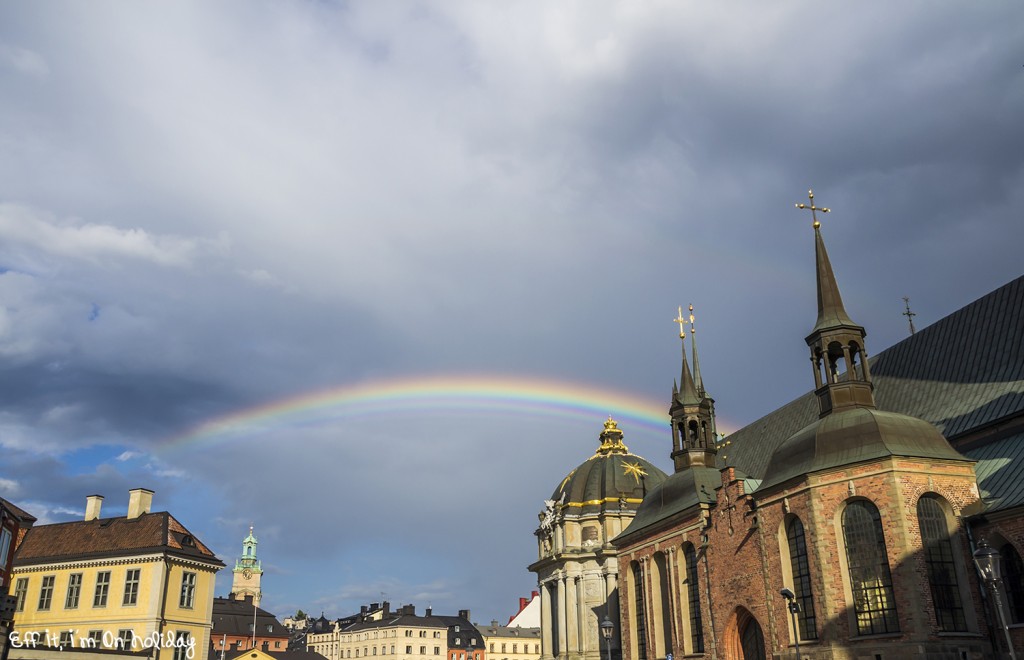
Sometimes you think about the composition, take a few test shots, play with the settings of the camera and end up with the perfect travel photo. But there will be times when you only have a few seconds to get it right. For example, I had just sat down to rest in Stockholm when I spotted the most beautiful rainbow I’ve ever seen. To make it all better, it was a double one. So I quickly turned on my camera and snapped picture after picture, without checking the result or changing the settings. Being a raw file made it easier to edit them later (see no 4) and by the time I took out my phone to snap a quick photo for Instagram as well, the rainbow was already starting to fade.
What other tips have you learned for better travel photos?
Pin for later:
